At Bump, we are committed to ensuring that your API documentation is beautiful and always up to date. To demonstrate the power of our tooling, we’re going to walk through the creation of an API (and, more importantly, its documentation). As we create the API and modify it, the power of integrating with Bump will become more and more apparent. And this is why we are here: to make everyone’s life easier: easier for the development team, the documentation team and - of course - easier for your customers to understand and stay abreast of any changes to your API.
In this post, we’ll create an OpenAPI specification that we can use as a blueprint for our proposed API. We’ll use the planned API endpoints when we build our API.
In future posts, we’ll actually build the API, and integrate with Bump so that changes to the application can be automatically integrated into the documentation.
Designing our API
For our example API, we want to create a Joke API, where privileged users can input new jokes, but anyone can interact with the API to search & retrieve jokes. We’ll also include the concept of upvoting and downvoting jokes.
Creating an OpenAPI specification from scratch may seem daunting, but when we take advantage of available tooling, it isn’t too bad. To spec out our API, we’ll use SwaggerHub.
When starting a new API specification, SwaggerHub offers you to start with an existing framework. We’ll use the Simple API Template.
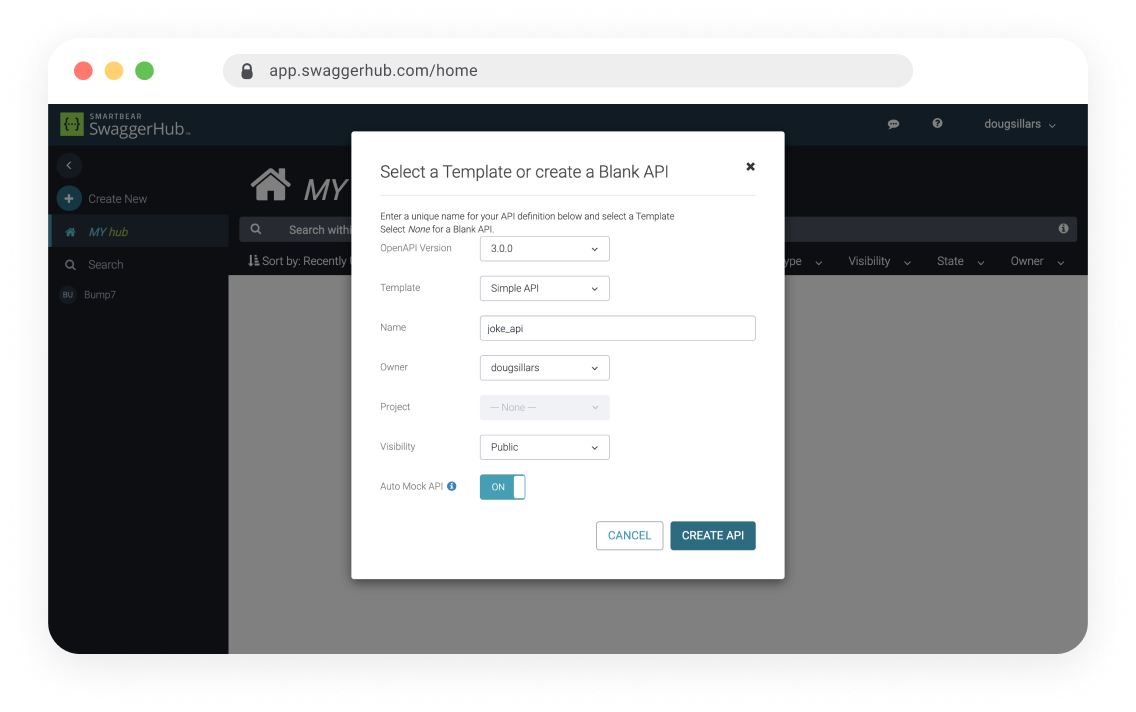
This creates an API that tracks Inventory. That’s almost what we need, but rather than tracking objects in an inventory, we want to track jokes. So, with some editing (basically turning all “inventory” references to “joke”) we have a Simple Joke API.
The Inventor object works great for inventory, but we’ll update the new “joke” object to match the parameters that we want to track for our jokes:
Joke:
  type: object
  required:
    - id
    - dateAdded
    - joke
    - punchline
    - thumbsUp
    - thumbsDown
    - category
  properties:
    id:
      type: string
      example: ce0b9fbe-7ad8-11eb-9439-0242ac130002
      description: The id of the Joke. Assigned when added.
    joke:
      type: string
      example: Why did the chicken cross the road?
      description: The lead-in to the joke.
    punchline:
      type: string
      example: To get to the other side.
      description: This bit should make you laugh :).
    category:
      type: string
      example: Classic
      description: The category of the joke.
    thumbsUp:
      type: integer
      example: 2
      description: Count of upvotes for the joke.
    thumbsDown:
      type: integer
      example: 4
      description: Count of down votes for the joke.
    dateAdded:
      type: string
      format: date-time
      example: '2016-08-29T09:12:33.001Z'
Each Joke will have an ID and include the date added (search for the newest joke). Of course, a joke API wouldn’t be a joke API without parameters for the Joke and the punchline. Finally, we’ll have integers fields to measure the votes for thumbsUp and thumbsDown, and a category for easy filtering of jokes.
Endpoints
In our initial design - we’ll have 4 endpoints:
- Add a joke
- Stretch for a joke
- thumbsUp a joke
- thumbsDown a Joke.
I’ll save you all of the details, because you’ll be able to see the documentation in a moment (and this is just a blueprint - odds are we’ll be making changes as we build & test the product).
Finishing up the API
After we make all the changes in SwaggerHub, and there are no issues detected by the SwaggerHub UI, we can export the API as a JSON or YAML file.
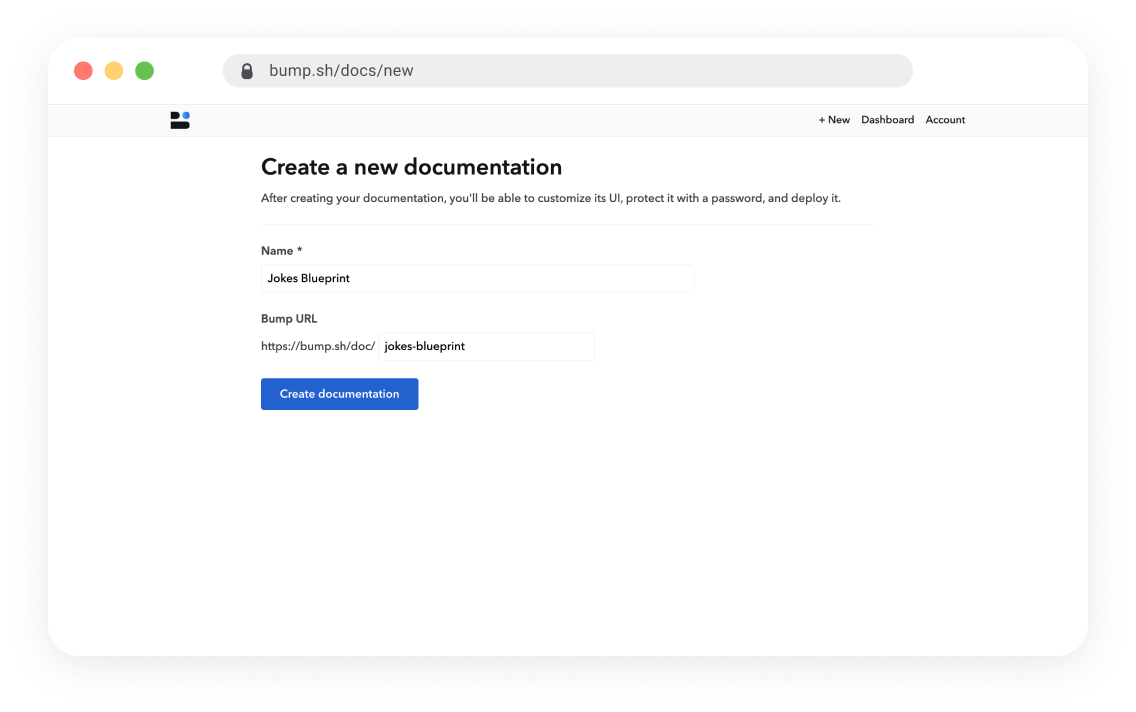
Adding our documentation to Bump
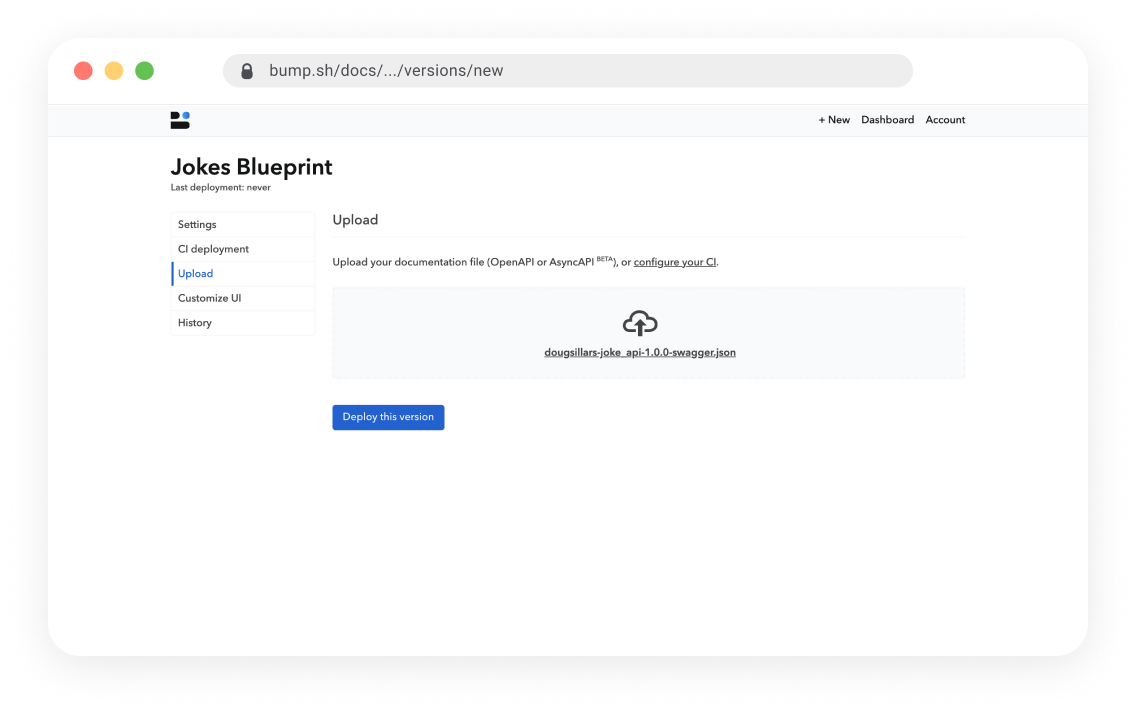
Now, let’s upload our documentation into Bump, so we can visualize our API. We’ll create a new documentation, and call it the “Jokes Blueprint”
Now we can add our Swagger file to the documentation, and when we click “deploy” Bump will create our docs for us.
Changing views of our API
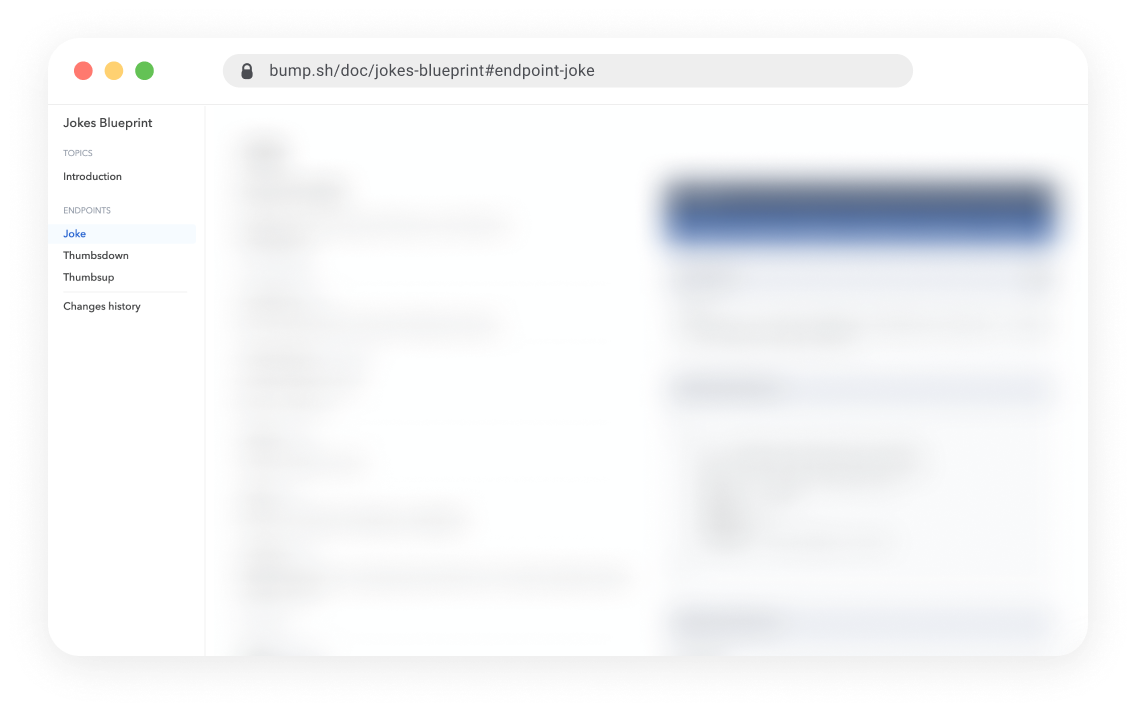
When the API is added, we can immediately see our documentation online:

Our endpoints are on the left, the description in the middle, and examples on the right. Bump has several settings to change the way your API will be displayed.
Your choices here are:
- Group by path
- Group by tag
- Default (group by path)
Group by Path
The group by path just shows 3 endpoints: Joke, ThumbsUp and ThumbsDown. Inside the Joke group, you can see the GET (search jokes) and POST (upload new jokes).
Group by tag
Group by tag uses the tags inside the API. The Joke POST is tagged as Admin (only privileged users can add jokes), while Joke GET, and the voting endpoints are available to all developers:
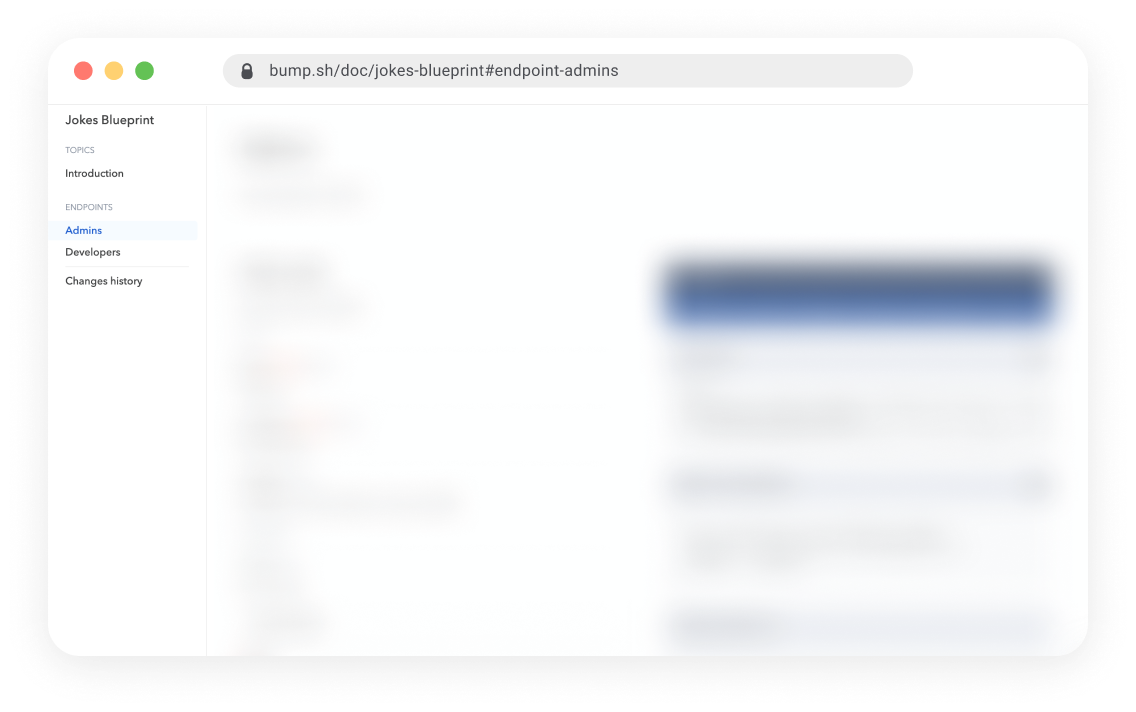
In this view, you cannot see the actual endpoints of the API, but we’ll fix this with the next setting: Navigation
Navigation
The default Navigation is Groups only.
Other options include:
- Groups and Operations
- Groups and Operations with verbs
For space reasons, we’ll show just the “groups and operations with verbs.” Should you choose the option without verbs, the GET/POST/PATCH etc. verbs will not be shown:
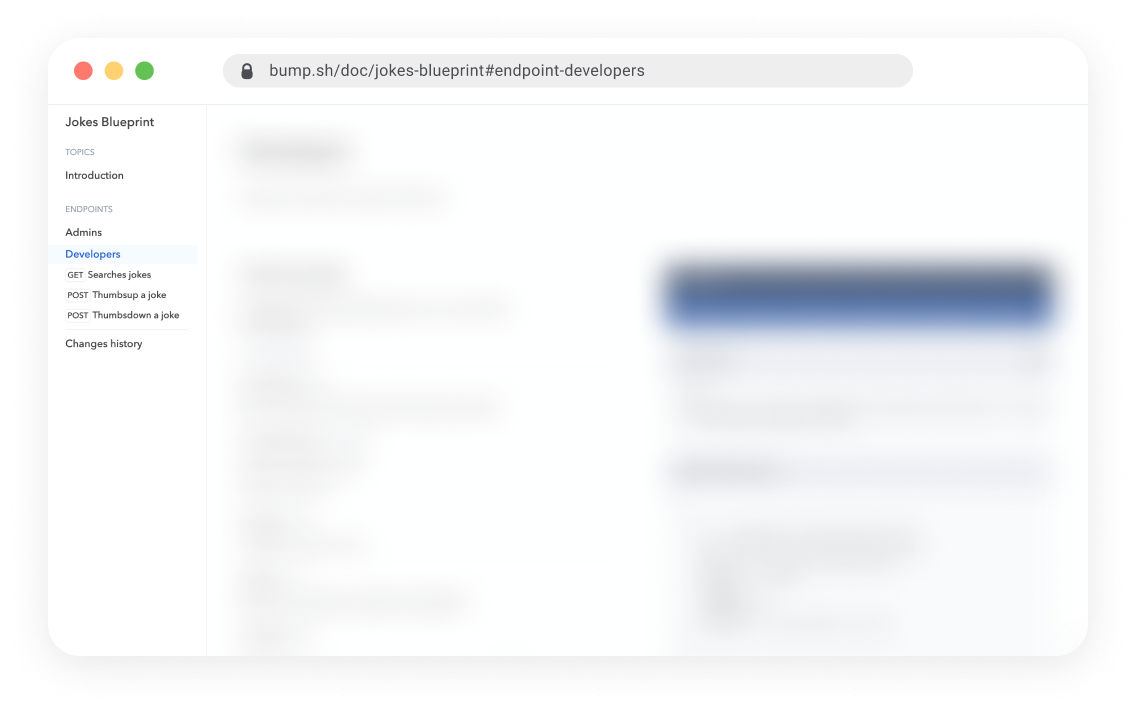
With this view, the endpoints are organized under the Admin and Developer tags (Group by Tags). Adding “Operations” places each operation under the tag. As seen above, we can see the “Searches jokes”, “Thumbsup a joke” and “Thumbsdown a joke” under the Developers group.
Adding the verbs tells you that “search jokes” is a GET, and the voting endpoints are both POST.
Colors
Finally, once you have your API looking great, you can update the colours to match your company’s colour schemes.
Conclusion
In this post, we’ve begun the process of creating an API. To do so, we’ve created a V0 API blueprint. With this blueprint, we’ve set out the capabilities of our Joke API, which we can use as we build our application.
In these steps we used API design first to help us understand what it is we wanted to build. We don’t expect our final API to be a 100% match this design, but it will serve as a guide to the project as we begin our development work.
Finally, we took our OpenAPI specification and added it to Bump so that we can best understand how to display our API documentation.